Organisation administrators can brand the Video Call interface for all clinics in your organisation. Any changes will filter down to all clinics created after the changes are made (but won't apply to clinics already created). Please note this configuration can be overridden at the individual clinic admin level, if desired.
1. From the Organisation homepage click on the Configure button in the left menu.

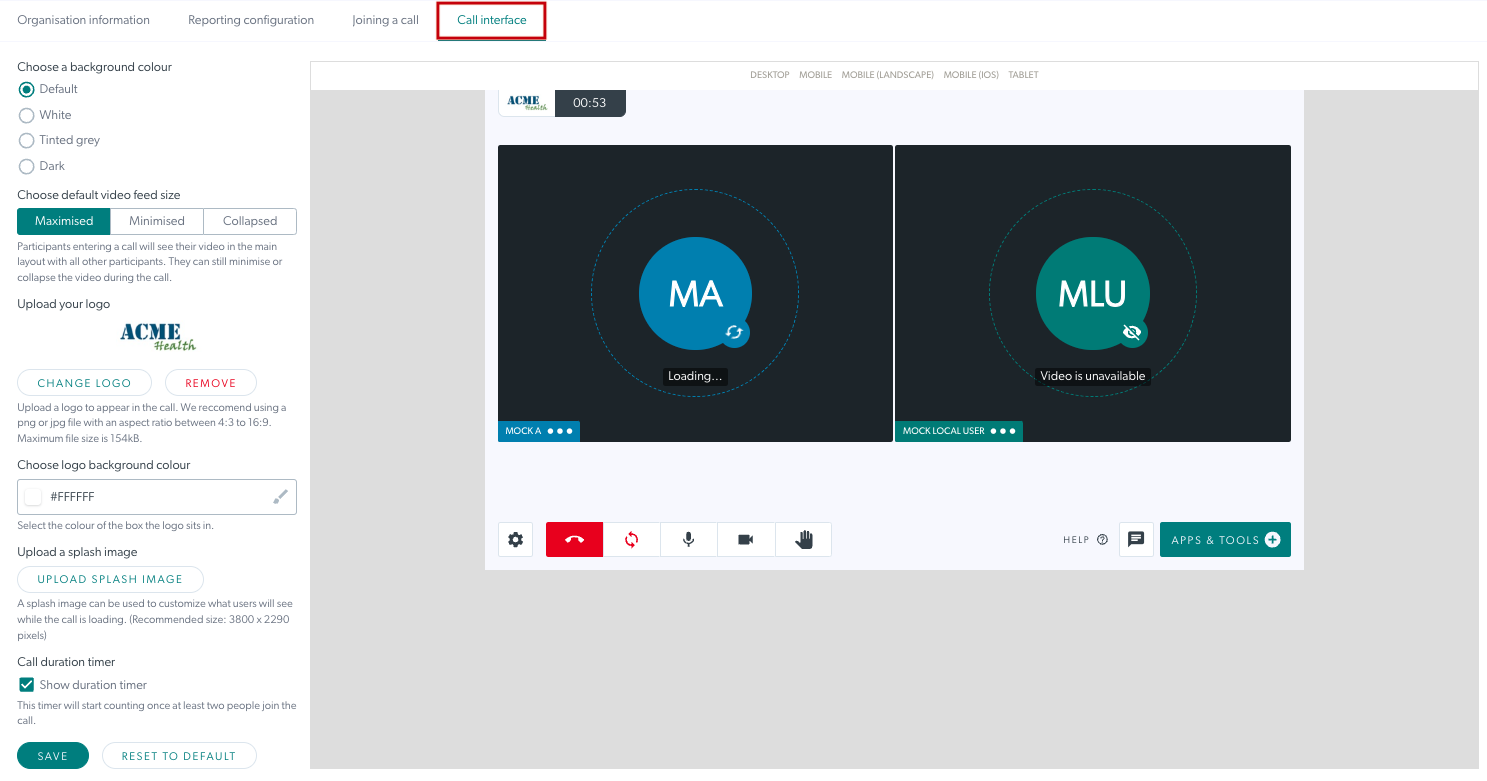
2. Click on Call Interface. This allows you to configure and edit your organisation’s call interface and branding. Please note this configuration cascades down to all clinic call interfaces within the organisation - however this can be overridden at the individual clinic admin level if desired.
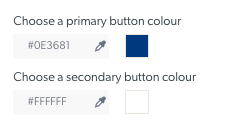
3. Choose a primary button colour and a secondary button colour if desired. The secondary colour refers to the button text colour. If you do not change the button colours, the default colours will apply.
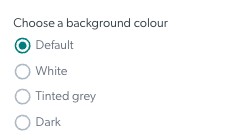
4. Choose a background colour – there are four options to choose from (as you scroll through the preview will update to help you choose):
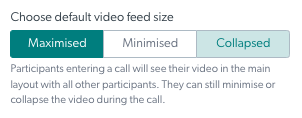
5. Choose default feed size
This refers to the local video window all team members will see when they first join a Video Call. This setting can be changed inside a Video Call at any time.
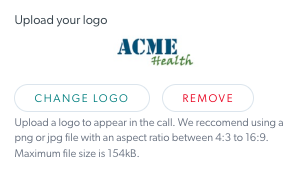
6. Upload a logo for the clinics in your organisation. The maximum file size in 50KB.
Once uploaded you will see your logo and can change or remove if required. In the below example a logo has been added, so the Add Logo button has changed to Change Logo.
7. Upload a splash image – this image is visible as the background while the Video Call window is loading. Please note, this will usually be for a very short time only.
Once uploaded you can change or remove your splash image.
8. Call duration timer - if enabled the call duration timer will appear in the call screen for all clinics. The default setting is 'enabled'.
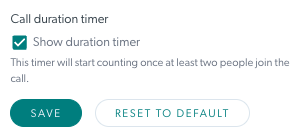
Remember to click Save to save your changes. You can also Reset to default to change all the settings back to the default settings, if desired.